

By Aimpoint Digital, A Gurobi Alliance Premier Service Partner
This article originally appeared on aimpointdigital.com.
Snowflake is a cutting-edge cloud data platform designed to revolutionize how businesses manage and analyze their data. With unmatched scalability, performance, and user-friendliness, Snowflake empowers organizations to extract insights and foster innovation from their data like never before.
An exciting addition to Snowflake’s features is Snowpark Container Services (SPCS). SPCS, currently in public preview as of February 2024, enables users to package, execute, and optimize containerized workloads as OCI images directly within Snowflake. This breakthrough opens avenues for executing advanced decision science workflows seamlessly within Snowflake, providing a unified architecture for enterprise operations.
This allows you to optimize workflows like:
In this guide, we will cover how to run Gurobi within the Snowflake environment using Snowpark Container Services (SPCS). This method also serves as an alternative approach for those who want to run Python packages not natively available in the Snowpark Anaconda Distribution. For any questions or more information on how Aimpoint can provide decision support by developing state-of-the-art models using Gurobi + Snowflake, please feel free to reach out here.
What you will need:
At the end of this guide, you will have:
Follow Snowflake’s quickstarts guide to complete the initial SPCS setup. The guide provides a detailed overview of the SPCS infrastructure and step-by-step instructions on how to get started.
Some practical tips when provisioning SPCS:
You might encounter steps that require certain privileges. In such cases, you will need to request your ACCOUNTADMIN to grant you the following privileges to execute the commands:
CREATE DATABASE ON ACCOUNT
CREATE COMPUTE POOL ON ACCOUNT
CREATE INTEGRATION ON ACCOUNT
BIND SERVICE ENDPOINT ON ACCOUNT


This will allow you to see the status of the push. Please note that the push can take ~10-15 minutes or more depending on the size of the image.
Once the service is “READY,” you can run the URL (i.e., ingress_url) from the SQL output above in a browser. This allows you to access the Jupyter Notebook Service and run your uploaded notebooks
In the YAML configuration file provided in the Snowflake quickstart guide, we provided a mounting location to allow a directory to be shared between Snowflake’s internal stage location, which is stored in @volumes of your chosen database’s public schema, and the active container, which is the /home/jupyter directory of the Jupyter Notebook Service. This configuration implies that the @volumes stage will persist and store artifacts in the container.
If you navigate to the @volumes stage in Snowsight, you will observe a table of directories. A new directory, @volumes/jupyter-snowpark, was created when the Jupyter Snowpark Service was established. Consequently, any files uploaded to @volumes/jupyter-snowpark will be accessible within the container’s /home/jupyter directory.

1. Navigate to the @volumes/jupyter-snowpark location as shown in Figure 1. Upload your Jupyter Notebook within the jupyter-snowpark location. Include a Gurobi model in the notebook to run on Snowflake.
2. If you have an active Gurobi license, you can also upload your gurobi.lic file to the jupyter-snowpark folder. You will need to let Gurobi know where you store the gurobi.lic file. Add the following code in your Jupyter Notebook before you initialize your Gurobi model or environment to explicitly specify the gurobi.lic location:

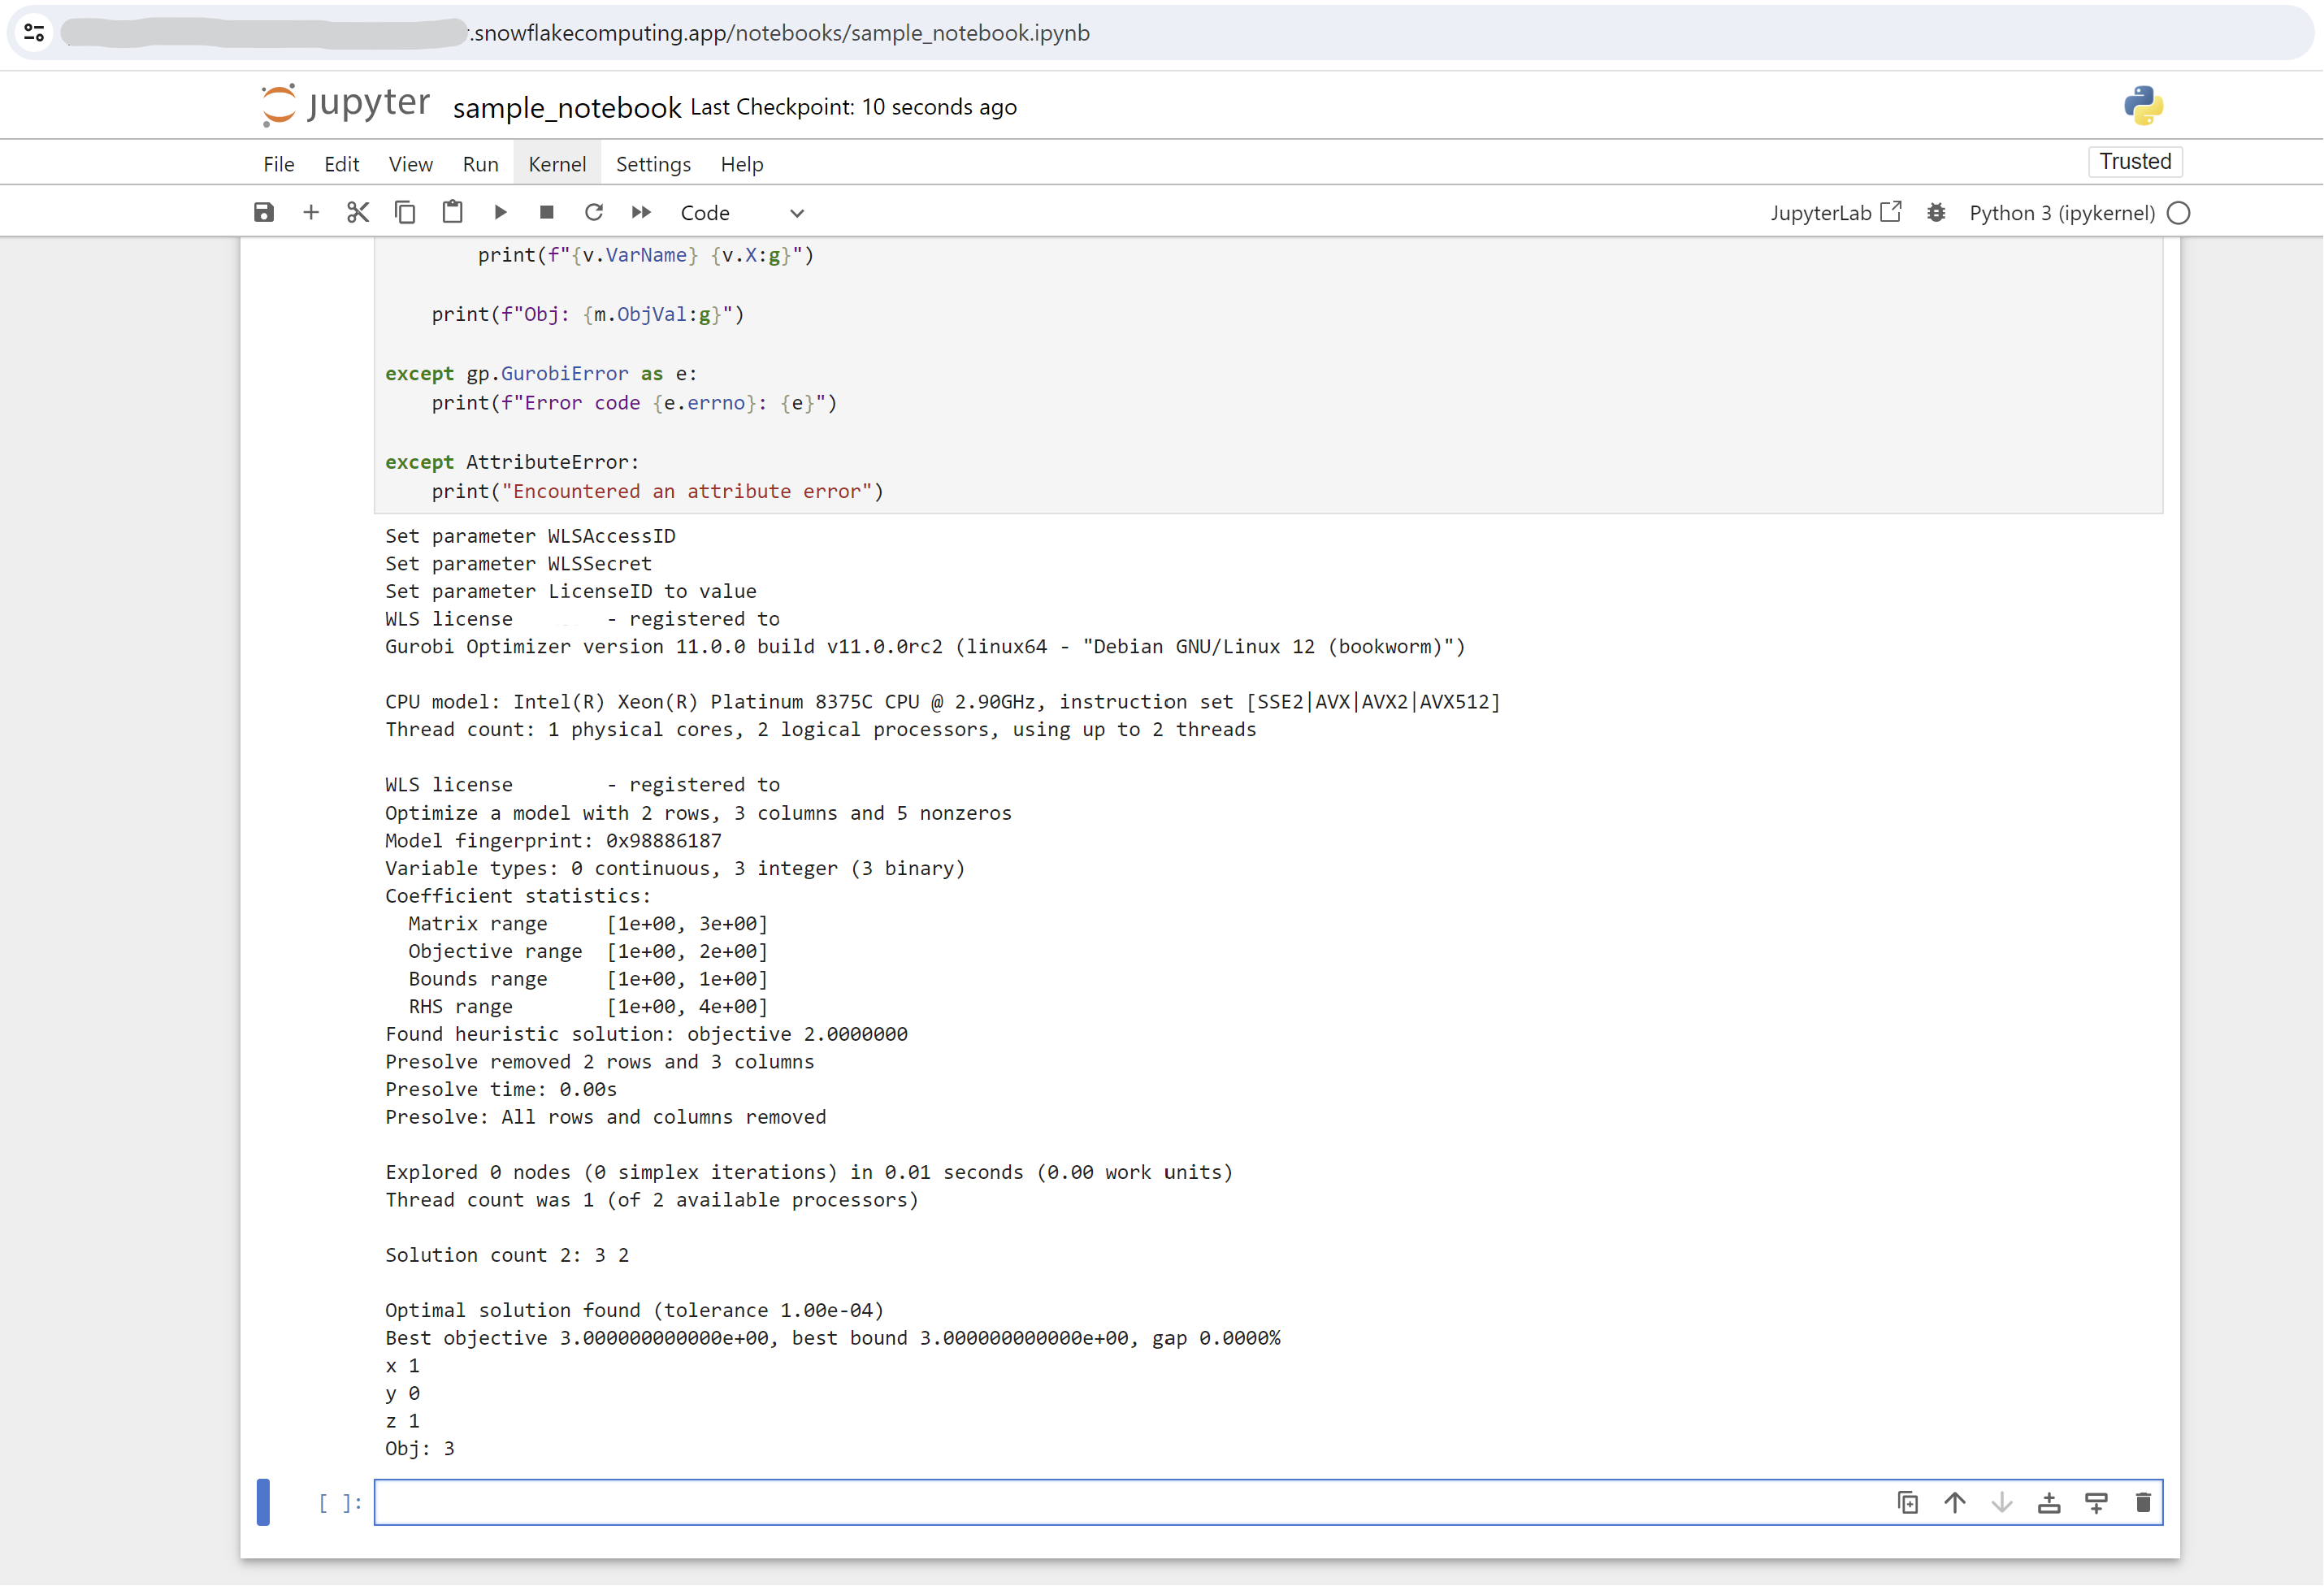
3. Run the ingress_url in your browser and log in with your credentials. A Jupyter Service with your uploaded Jupyter Notebook should be visible. Open and run your Jupyter Notebook as you would normally run locally.

 Notes on Gurobi license: The ability to execute models in SPCS using Gurobi is contingent upon the specific type of license available to you. You can run models with up to 2,000 variables or constraints with a demo license that comes out-of-the-box with a gurobipy installation. For comprehensive details regarding licensing terms and permissions, we recommend navigating to this site or contacting Gurobi directly.
When the model execution is complete, you can stop the services and suspend the compute pool to avoid incurring additional costs by running the command below in a Snowflake SQL worksheet:

Before suspending the compute pool, it is vital that you have closed all browsers with the ingress_url. Otherwise, the compute pool will not suspend, especially when the auto-resume setting is set to active.
Read part two of this blog series to explore how this process can be further streamlined using Snowsight, or check out more helpful resources designed specifically for data scientists here.
Latest news and releases
Choose the evaluation license that fits you best, and start working with our Expert Team for technical guidance and support.
Request free trial hours, so you can see how quickly and easily a model can be solved on the cloud.